Create a New Page
This page describes in detail How to Create a New Page in the wiki.
Also see:
- How to Propose a New Page
- How to do a Quick Edit to an existing page
- A brief Technology Overview
- An overview of Contribution Opportunities.
Background
The Wiki is a Git repo hosted at GitHub using Pages, Markdown and Jekyll.
There are two main wiki instances: the released Wiki and the staging Wiki. Individuals fork the staging wiki to add to the network of repos.
You will submit contributions to the staging wiki through a GitHub pull request. Once your submission has been accepted, a Wiki editor will eventually promote it to the released wiki.
Overview
The steps involved are as follows.
Once only:
- Setup
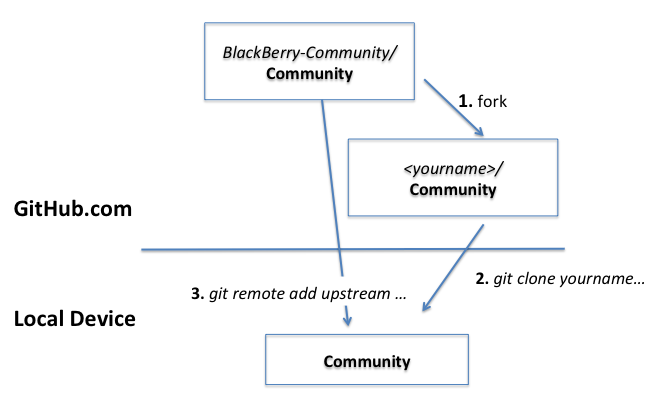
- Fork the Staging Repository
git clonefrom your GitHub fork into a local reposgit remote add upstream staging-wiki
For Each set of contributions:
- Synchronize back your repository
- Create the new page in your local repository
- Test locally
git addthe filesgit committhe changesgit pushthe changes to your fork at GitHub- Test your changes
- Send a pull request from your fork to the Staging Wiki
Don’t be overwhelmed; once you are up-to-speed the actual cycle quite fast. And you should learn how to use Git and GitHub anyhow; check the Google Trends stats.
Setup
You will need:
- An account at GitHub.com (see plans).
- Git client software installed in your local client (e.g. from git-scm.com)
- Connectivity to GitHub (via ssh or https) from your local client
Optionally, but recomended:
- Install Jekyll for local testing
Also check Technology Overview, the GitHub Help Pages and the git-scm website
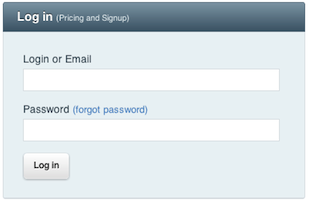
Fork the Staging Repo
Start by login into GitHub.com:
Now, navigate to the Staging Repo at github.com/blackberry-community/Community or follow the Create Page link in the Contribute section of the navigation (left-hand side) menu for any page:
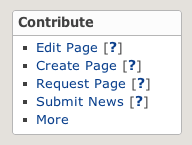
Follow the link; the repo looks like:
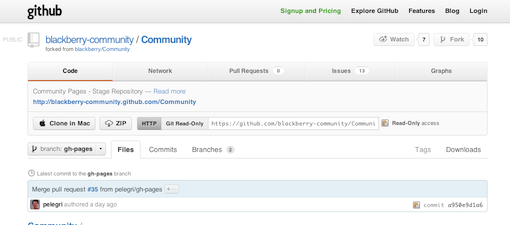
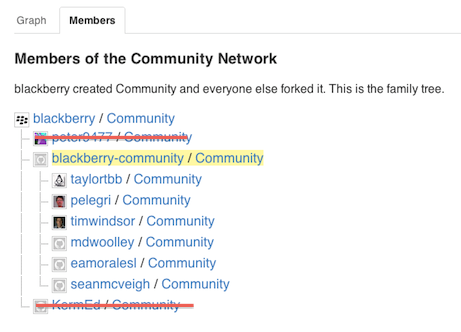
Then click that fork button on the top-right to get a brand-new repo. The repo will be listed as a fork in the network of repos, shown down from the staging repo, like the others (ignore Peter and Kern’s repos).
At this point your GitHub fork is in sync with the Staging repository. Next is to get a local clone you can operate on.
Clone Your Repo and add Reference to Upstream
Locate the URL to your fork of the Wiki and choose whether to use HTTPs or SSH. Note that some corporate firewalls may block port 22, used by SSH.
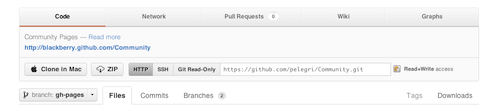
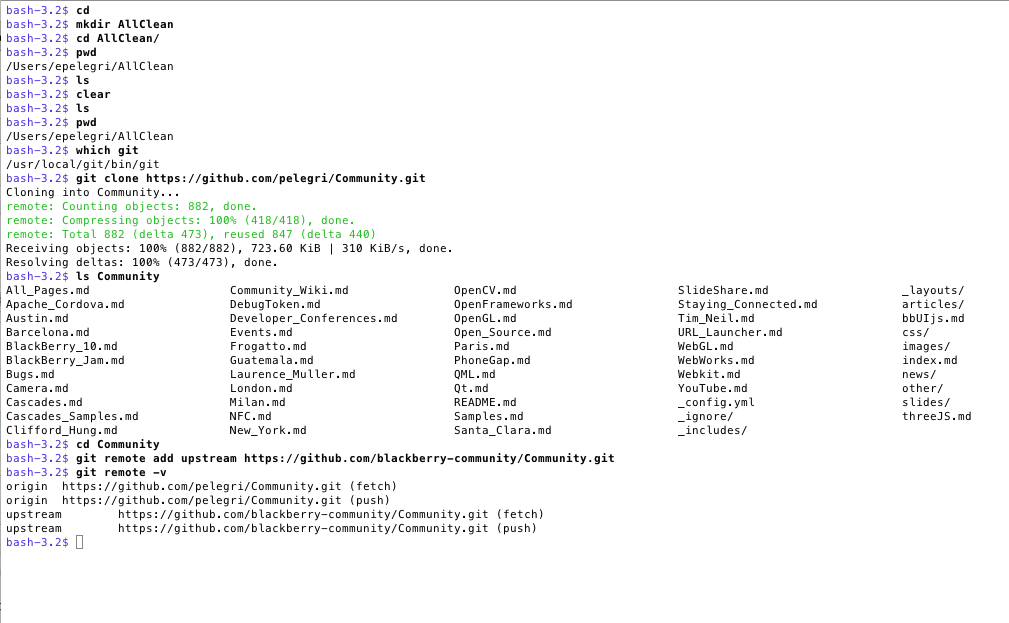
Go your favorite local tool and clone the repo. You should also add a reference to your upstream repo, the Staging wiki.
I mostly use the command-line tools and emacs, so this is how these commands look for me:
This completes the once-only setup. The next is the normal cycle when you want to add content.
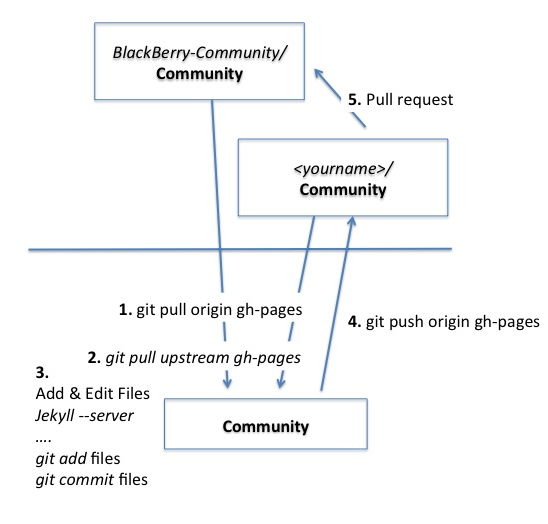
Resynchronize upstream
First off, you want to resynchronize upstream. Do this with a
git pull origin gh-pages;
git pull upstream gh-pages
In most cases this will just update with no conflicts.
BTW, do note we are using the gh-pages branch; the master branch is not used at all. gh-pages is is also the default repository.
Create New Files
Next is to add any pages you may to add. You can just copy an existing page and edit from it. Or you can use the samples in other/example-*. Or anything else.
Test Locally
Local test is via jekyll. Run it as jekyll -- server from the top directory in your repo. Then you can see the results by pointing your browser to localhost:4000/Community.
Add Files to the Repository
We are now in the normal cycle of a Git repo. You can add individual files git add MyFile or whole directories.
Use git status to check where you are; this is useful to discover which files you forgot to add.
Commit Changes Locally
Similar comment about commits. A common command will be git commit -a -m "message".
Push to your GitHub Fork
Once you are ready, push your changes to your fork. This will be a git push origin gh-pages
Test Changes at your GitHub Fork
You are almost done. If you didn’t forget any files, your changes are now at GitHub, but you should check it. This means activating your Wiki through the Pages machinery by using the other URL. In my case, this is pelegri.github.com/Community.
Test your new changes. Sometimes the machinery kicks in slowly, so try a couple of reloads. Fix any errors you may have and iterate until you are happy with the results.
Send a Pull Request
Last action: in your fork repo, click on the pull request button.
This creates web form to compose your request:
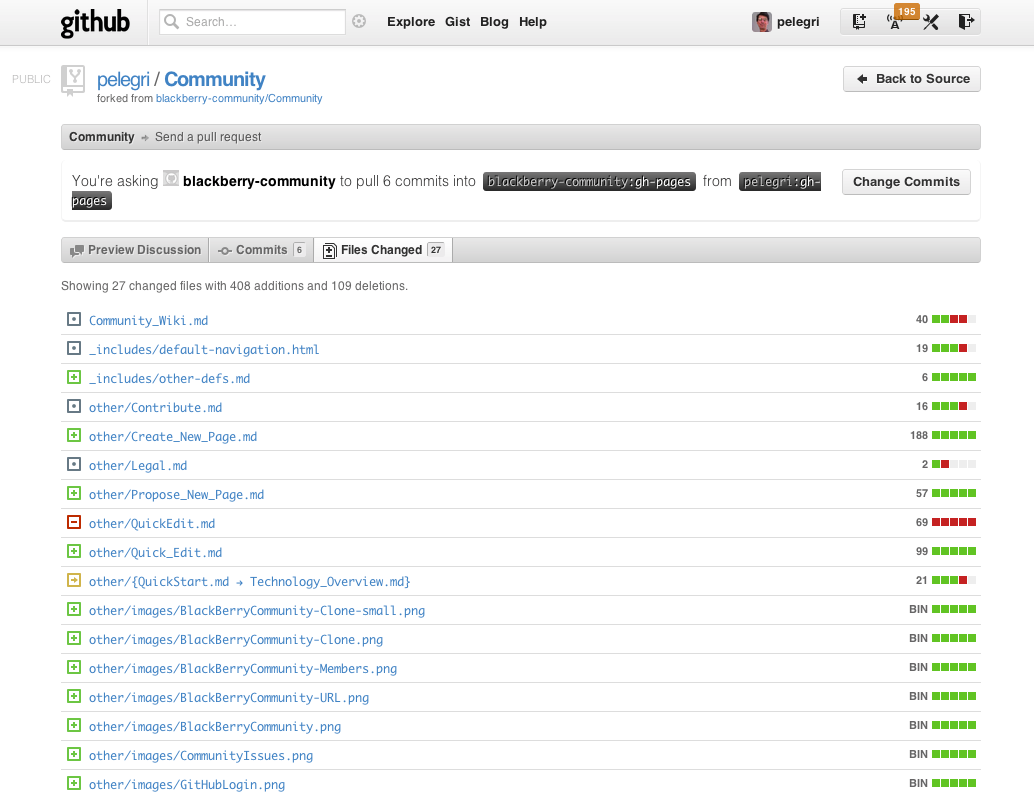
Fill in the description and send it.
Engage in a Conversation with the Approver
The pull request next shows in the inbox of one of the members that can accept it. They may accept it unchanged, or they may ask for some changes.
We want your contributions but we are fallible and have time constraints; if we don’t reply promptly, ping us!
Copyright 1999-2011 Research In Motion Limited. 295 Phillip Street, Waterloo, Ontario, Canada, N2L 3W8. All Rights Reserved.